Transformation of a set-in sleeve into a kimono sleeve, part 2
Endlich kommen die ganzen Hilfspunkte zum Einsatz und der untere Teil des Ärmels wird gezeichnet.
So.. next…
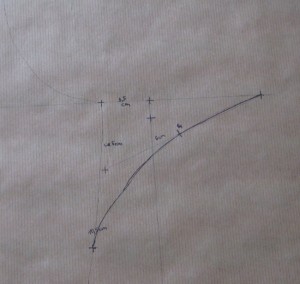
All those crosses we made before are used now to draw the line for the sleeve.
Von der unteren Markierung auf der Seitennaht in einer leichten Rundung über die Markierung auf der schrägen Linie bis zum Ärmelsaum. Man kann das mit einem entsprechenden Lineal machen, wenn man nicht zu doof dazu ist wie ich. Oder man strichelt es von Hand und verläßt sich drauf, daß die Schere das schon ausrundet.
Now you connect the marks from the lower mark on the side seam to the sleeve hem, making it slightly round. There are curves you can use to make a nice line. If you are to stupid for that (like me) than you draw free hand and hope for the scissors to give a nice shape later when cutting the pattern.
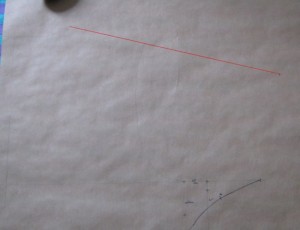 Als nächstes brauchen wir die Schulternaht. Dazu verlängern wir die Schulterlinie einfach bis zum Ärmelsaum. (Im Bild rot).
Now we need the shoulder seam. So you simply lengthen the shoulder seam of your block until it reaches the sleeve hem. (Ret line in the picture.)
Im Prinzip könnte man es dabei auch belassen, aber die Schulter fällt in der Regel schöner und trägt sich angenehmer, wenn man diese Linie etwas runder gestaltet.
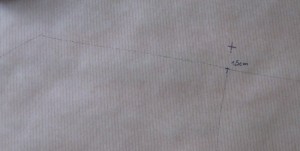 You can leave it like that but usually it looks nicer and feels also mor comfortable while wearing if your round that seam, too.
Auch das nicht so schwierig, wir brauchen nur einen Hilfspunkt oberhalb der ursprünglichen Ärmelansatznaht. Dort ein Geodreieck im 90° Winkel anlegen und einen Punkt 1,5 cm drüber markieren.
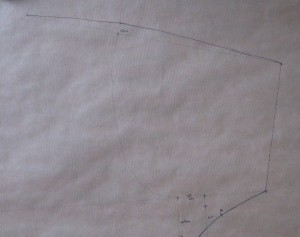 We again need to mark a point. 1.5 cm above the point where the original shoulder seem stopped and the sleeve started.
Und dann in einer leicht gerundeten Linie vom Halsausschnitt über den Hilfspunkt zum Ärmelsaum.
And then draw a rounded line from neck over our provisory mark to the sleeve hem.
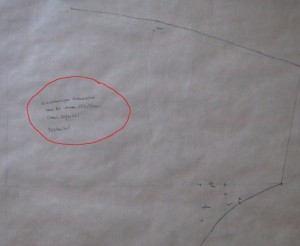 Und dann kommt ein Schritt, der gerne ausgelassen wird, der aber sehr wichtig ist: Beschriftet euer Schnitteil! Ich schreibe drauf, was für eine Art Schnitt es ist (Kimono kurzärmelig), welcher Schnitt oder welcher Block meine Grundlage war und in welcher Größe und natürlich welches Schnitteil (Rückenteil). In diesem Stadium kostet einen das nur einen Moment, kann einem später aber stunden des Suchens, Ratens und Ausprobierens sparen.
And last but not least a very importent step many people tend to leave out: Write on your pattern what it is! I write what kind of pattern it is (here kimono, short sleeve), what pattern or block was the basis of the transformation and in which size and of course what pattern piece I have (here back). That costs you only moments now, but will save you hours of retreiving the information, guesswork or testing the pattern again later.

Liebe Nowak,
ich habe auf meinem Blog in der Seitenleiste eine winzige Sammlung von Anleitungen die mir gefallen und geholfen haben. Ich habe diese Anleitung dazugesetzt und hoffe, dass das ok ist. Wenn nicht dann melde dich bitte.
Freundlicher Gruß
Mema