Navi-Ta or Challenge aftermath
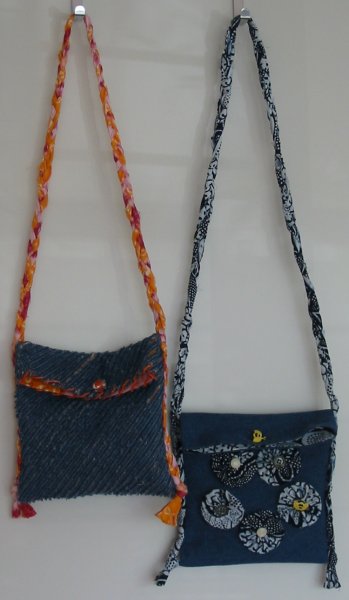
Nach der Challenge war von den beiden Seidenkleidern noch so einiges an Stoff übrig. Das wollte ich natürlich nicht “verderben” lassen und habe mir überlegt, was ich noch damit machen könnte.
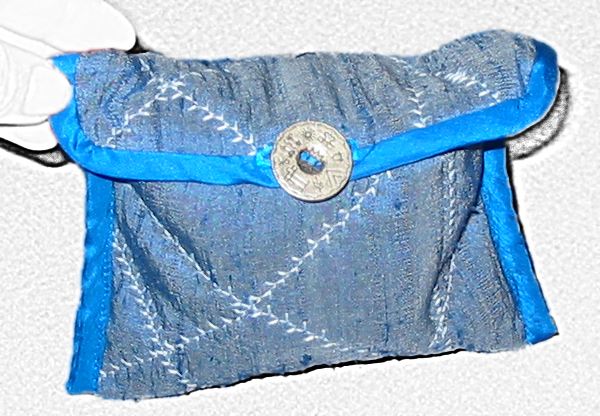
Da ich seit kurzem ein Navi fürs Auto habe und mir auch schon das eine oder andere Display in der Handtasche kaputt gemacht habe, lag es irgendwie nahe, dem Navi auch eine Hülle zu machen. Denn im Auto läßt man es ungern liegen (Einladung für Diebe).
There was still fabric left after my Challenge bag and I am very bad at throwing away silk. So I thought about another project I could be doing with it. Since I recently bought a navigation system for our car this called for a protective sleeve or purse (or whatever you want to call it). Since you don’t want to leave it in the car (invitation for thieves) and if you put it in your handbag the display can get ugly scratches. (To be more precise: all my displays have ugly scratches but I’ve learned my lesson.)
Da ich dran gedacht habe, Photos zu machen, gibt es mal wieder eine Anleitung. Es ist ein sehr einfaches Projekt, auch geeignet für Anfänger und man könnte es sogar komplett von Hand nähen, wenn man keine Nähmaschine hat. Und man kann nach dem gleichen Schema natürlich auch eine Tasche für ein Handy oder ein anderes kleines Gerät machen.
I remembered to take pics while I was making the case, so here’s the tutorial. It’s an easy project, suitable for beginners and you could even do it entirely by hand. Of course you could also make a case for a mobile phone or any other small device the same way.
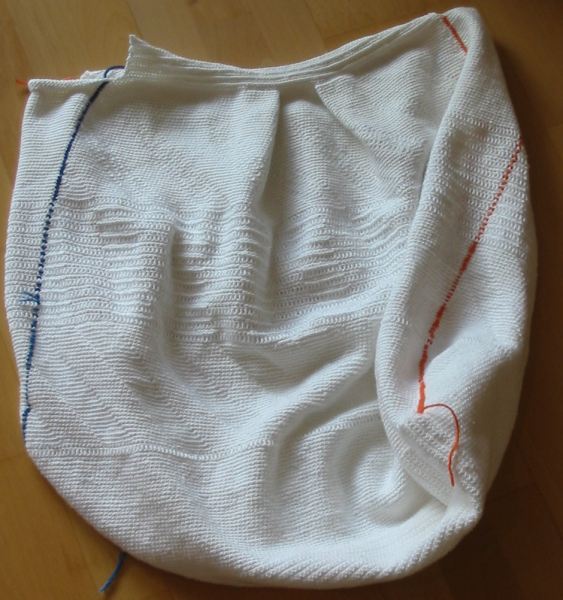
 Erst mal muß das Gerät vermessen werden.
Hierbei ist einmal wichtig, sich zu überlegen, ob man die Halterung mitnehmen will oder ob die später im Handschuhfach bleiben soll. So wie man das Gerät später tragen will, vermisst man es auch. Meine Halterung ist flach, ich werde sie eher mitnehmen, messe sie also mit.
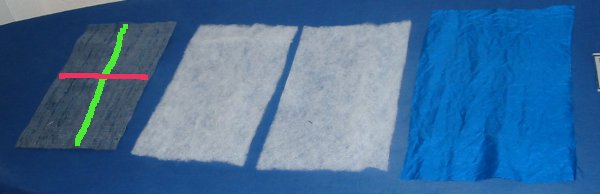
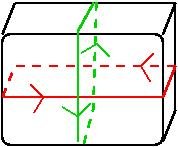
Zwei Maße braucht man, den Querumfang (rot) und den Längsumfang (grün).
First you have to measure your device. And you have to decide whether you intend to leave the fixture on the navigation system and take it with you or if you prefere to leave it in the glove box. If you want to take the fixture with you, you measure with the fixture on the navigation system, otherwise you take it of. My fixing system is flat and light weight so I’ll just leave it on the navigation system and measure with the fixture on the system.
You only need to measures: the circumference cross the device (red line) and the circumference lengthwise (green line).
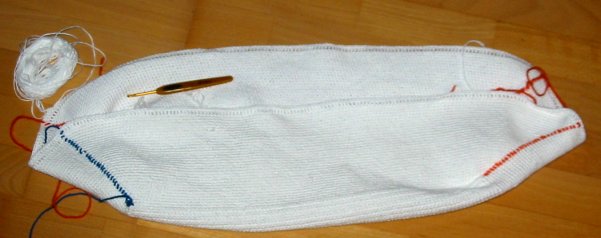
Dann schneiden wir die Teile zu, einmal aus Oberstoff (links), zwei mal aus dünnem Volumenvlies (Mitte) und einmal aus Futter (rechts).
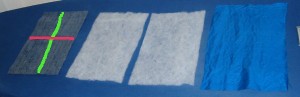 Die Maße für den Oberstoff und das Volumenvlies sind 1x Umfang grün plus 3,5 cm in der Länge und 1/2 Umfang rot + 2 cm in der Breite. Das ergibt dann ein sehr knappes Täschchen. Wer es weniger knapp möchte, gibt noch 1 cm – 2 cm in jeder Richtung zu.
Der Futterstoff wird großzügiger zugeschnitten, denn durchs nachfolgende Quilten wird er auf alle Fälle schrumpfen.
Noch einfacher ist es, wenn man alle Materialien noch etwas größer zuschneidet und dann nach dem Quilten auf die endgültige Größe zurückschneidet. Dafür hatte ich nur nicht genug Stoff…
You cut fabric, two layers of thin batting and lining fabric. The measurement of the fabric and batting pieces are: 1x green circumference + 3,5 cm lengthwise and 1/2 red circumference + 2 cm crosswise. That makes a very tight fitting case. If you want it less tight add another 1 cm – 2 cm on every dimension.
The lining fabric has to be cut larger because quilting will take some of the fabric.
Normally I would have cut all pieces a good deal larger and cut it to the right dimension after quilting, but I didn’t have enough fabric for that…
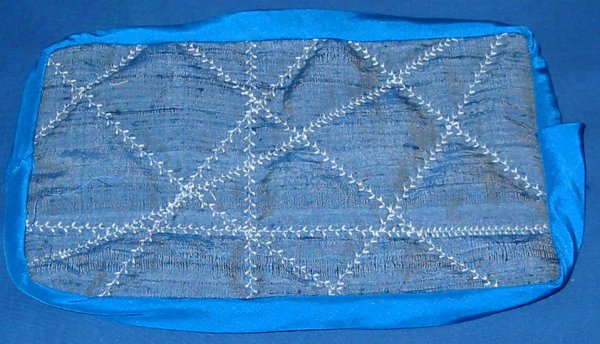
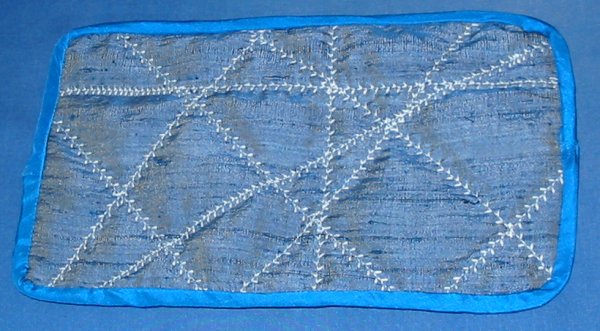
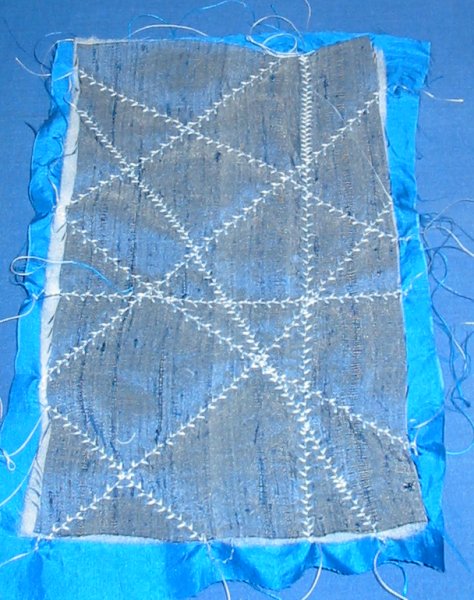
 Dann werden die Schichten aufeinandergelegt: Futter, zwei Schichten Volumenvlies und Oberstoff. Das ganze kommt unter die Nähmaschine und wird willkürlich mit geraden Linien durchgesteppt.
Ich habe Baumwollstickgarn und einen einfachen Zierstich gewählt, Steppstich oder ein Handheftstich gehen genauso.
Then you pile the layers: lining, two layers of batting and the outer fabric on top. All this goes under the sewing machine and I’ve sewn straight lines at random.
I used cotton machine embroidery yarn and a simple decorative stitch of my sewing machine, but straight stitch or a short basting stitch if you do it by hand are fine as well.
Jetzt noch mal nachmessen, ggf auf die oben genannten Werte zurückschneiden und entlang der Kante mit einer Runde Steppstuch befestigen.
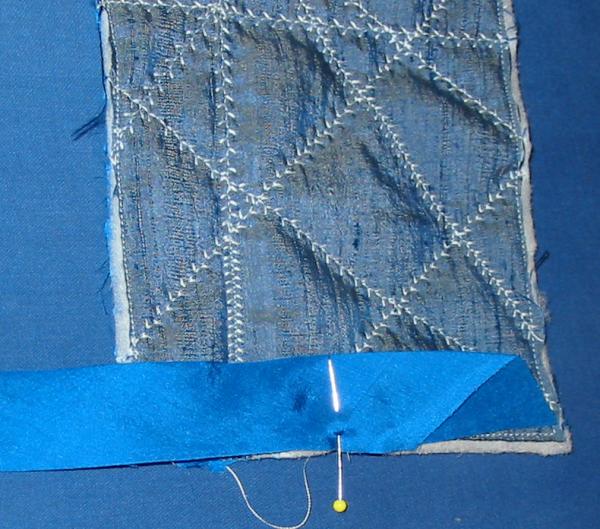
Anschließend brauchen wir ein Einfassband. Dazu schneide ich einen Schrägstreifen aus meinem Futterstoff zu. So als Faustregel nimmt man 4 mal die Breite des eingefassten Randes plus etwa 1 cm. Ich habe einen Rand von 0,7 cm, also schneide ich den Schrägstreifen 3,8 cm breit zu. (Oder vier, auf Genauigkeit kommt es mir bei dem Projekt nicht so an.)
 Das Schrägband wird dann gebügelt und dabei etwas gedehnt. (Nicht zu stark.)
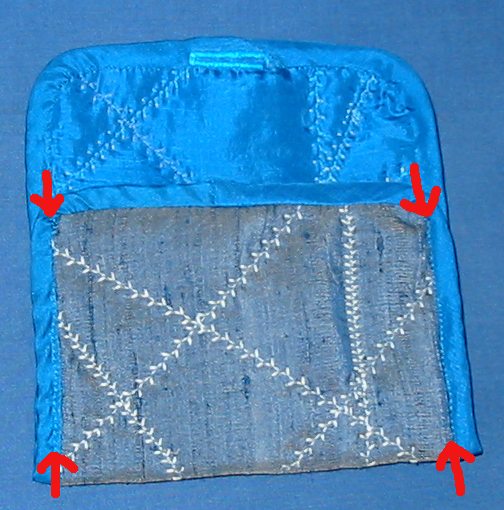
Anschließend einfach rechts auf rechts auf das gesteppte Teil gelegt, die Kanten bündig, und mit 0,7 cm Abstand von der Kante festgenäht.
After quilting I’m cutting all layers back to the measurements that were mentioned above and staystitch close to the cut border.
Then I need binding from my lining fabric. I’m using a bias cut strip of fabric, the width is 4 times the width of the bind edge plus 1 cm. In my case the width of the finished binding is 0,7 cm, so I’m cutting my fabric 3,8cm wide. Or 4 cm, precision isn’t important to me in this case. (The case will mostly live inside my bag and no one will see it.)
I iron my binding stretching it lightly (but not to much).
Then I put the bias strip on my quilted piece, right sides facing and the cut edges aligned. And I’m sewing it down with a 0,7 cm seam allowance.
(Und damit dieses Post nicht so fürchterlich lang wir, gibt es die Fortsetzung beim nächsten Mal.)
(To be continued, I am sincerely trying to make my posts shorter…)

 Eine neue kleinere Digicam ist bei uns eingezogen. Und da ich mir nicht noch mal das Display zerkratzen will wie bei der letzten brauchte sie eine Hülle.
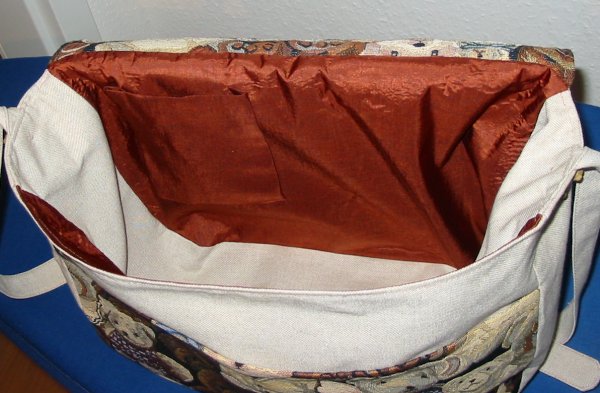
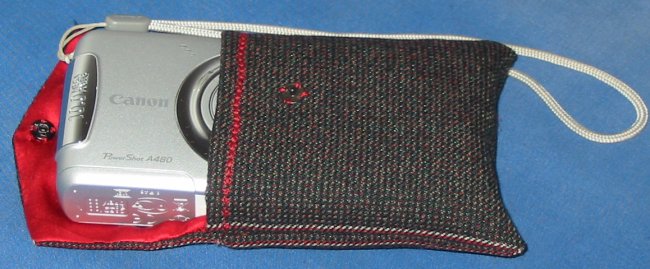 Aber der wirklich interessante Teil ist eigentlich das Innenleben.