Da ich immer noch keine Zeit für den Motivationsmonat habe (vor allem wegen dringender Weihnachtsgeschäfte, wie Plätzchen backen oder Karten basteln) geht es mit der Anleitung für die gefilzten Karten weiter.
As I still do not find the time to sew on the „Motivationsmonat“ because there are all those urgent christmas things to do (like making cookies or christmas cards) here the second post aboout the felted greeting cards.
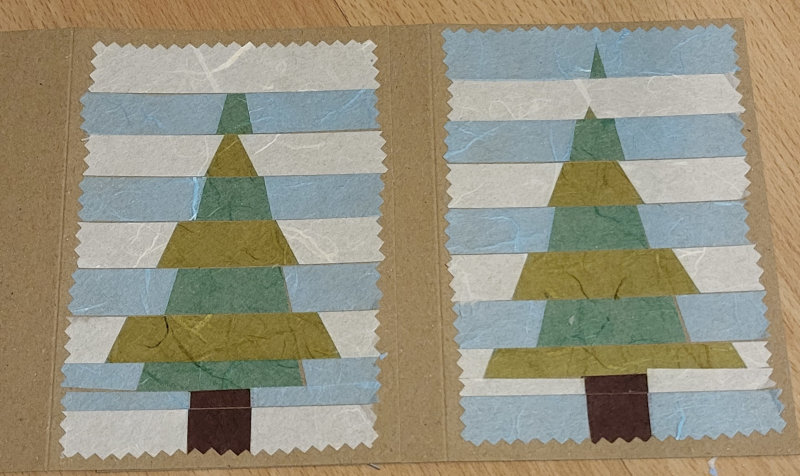
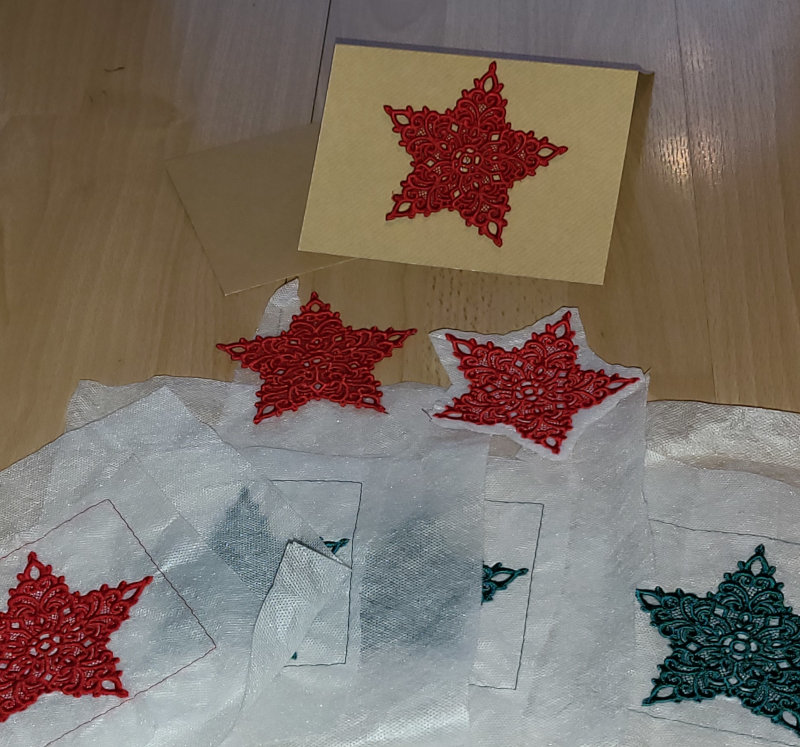
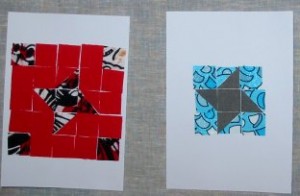
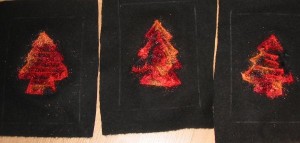 Das nächste Bild zeigt die unterschiedlichen Effekte, je nach dem wie man das Garn einfilzt: Links habe ich Reihe für Reihe das Motiv gefüllt und danach die Kontur gefilzt. In der Mitte bin ich dem Umriss gefolgt und habe auch die Mitte immer rundum
gefüllt. Und rechts habe ich zuerst den Umriss gefilzt und danach in der Mitte das Garn absichtlich in etwas unregelmäßigen, schrägen Reihen aufgelegt.
This picture illustrates the different effects according to how you layer the yarn: on the left I felted the yarn row by row and did the outlines last, in the middle I worked my way from the outlines to the middle, always following the contour of the shape and on the ride I felted along the outline first and did the inside with irregular rows second.
Gefilzt ist also schon mal, es war auch ganz einfach, dann müssen nur noch Karten draus werden.
Weiße (oder farbige) Doppelkarten kann man kaufen oder aus festem Papier, Plakatkarton,… selber zuschneiden (Mühsam, allerdings habe ich noch einen Posten solchen Papiers, den ich derzeit aufbrauche.)
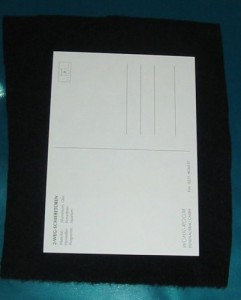
Will man einfache Karten die ohne Umschlag verschickt werden, kann man sich ebenfalls Karton zuschneiden oder häßliche Ansichtskarten bekleben.
So we have felted fabric. To transform it into greeting cards you either need precut and prefold cardboard or you buy thin cardboard/very thick and strong paper and cut and fold yourself. Or you use ugly greeting cards as a basis.
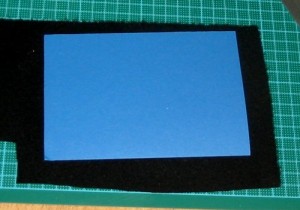 Ich benutze zum Aufkleben doppelseitig klebende Folie aus dem Bastelgeschäft. Ich glaube meine habe ich vor mehr als zehn Jahren mal bei VBS bestellt, damals wohl einen Meter und davon zehre ich immer noch.. :o)
Die Folie wird exakt auf die Größe der Karte zugeschnitten, ich mache das mit Metalllineal und Cuttermesser. Das Trägerpapier hat auch ein Raster, was beim Einhalten von 90° Winkeln ungemein hilft.
Anschließend wird das Trägerpapier abgezogen und die Folie (auf der noch die blaue Schutzfolie klebt) auf die linke Stoffseite gelegt. Dabei darauf achten, daß das Motiv ungefähr mittig plaziert ist und gerade steht.
To mount the fabric on the card I’m using a kind of sticky platic sheet that is sticky from both sides. I’m cutting it to the size of my card, cutter and metall ruler do help here.
Then I remove the protective paper and stick my plastic sheet (still with the blue protective foil for the other sticky side on) on my fabric. Taking care that my felted ornament is well centered. Press very well!
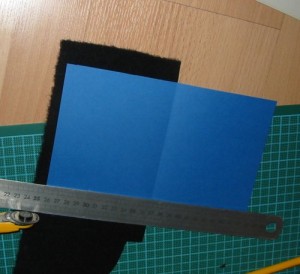 Jetzt lege ich mein Filzbild mit der Folienseite nach oben auf eine feste Unterlage, ziehe die Trägerfolie ab und lege meine Karte (im Bild eine blaue Doppelkarte) paßgenau auf die Klebestelle.
Wieder sehr gut festdrücken. Ich presse sie in dem Stadium auch gerne mal noch eine Stunde unter einem schweren Buch, wahrscheinlich wäre es nicht nötig.
Anschließend schneide ich den überstehenden Stoff mit Rollschneider und Metallineal zurück. (Am Falz der Karte muß man die Karte natürlich erst falten, damit man sie nicht durchschneidet…)
Next step is placing the fabric, sticky sheet side up, on a hard surface, removing the protective foil and putting a card (in my case a blue one) precisely on the sticky sheet. Again pressing very well. (I like to leave it under a dictionary or an ecyclopedia for a while.)
After that I use the metal ruler and my roller blade cutter to cut back the fabric to the dimensions of the card.
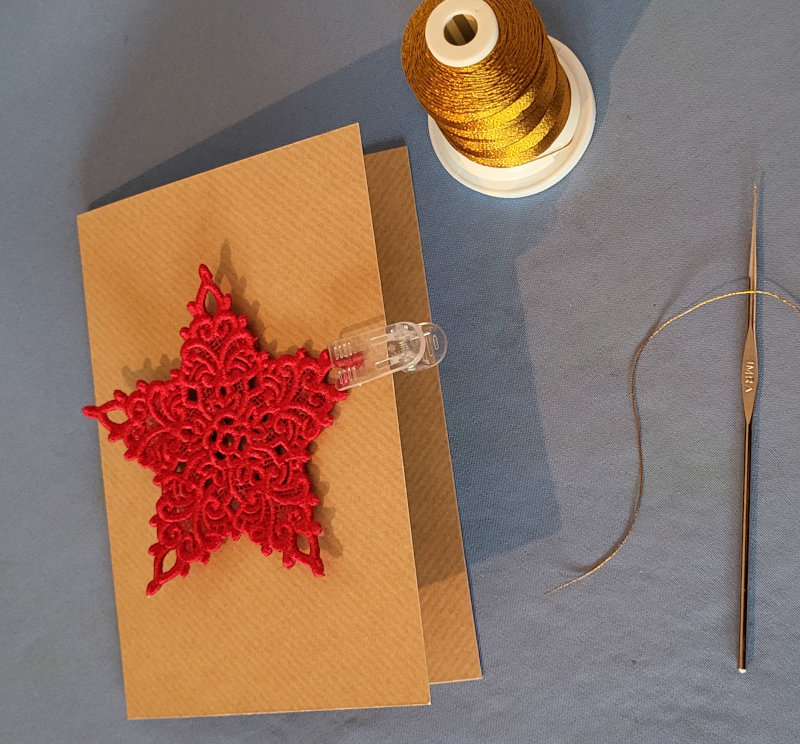
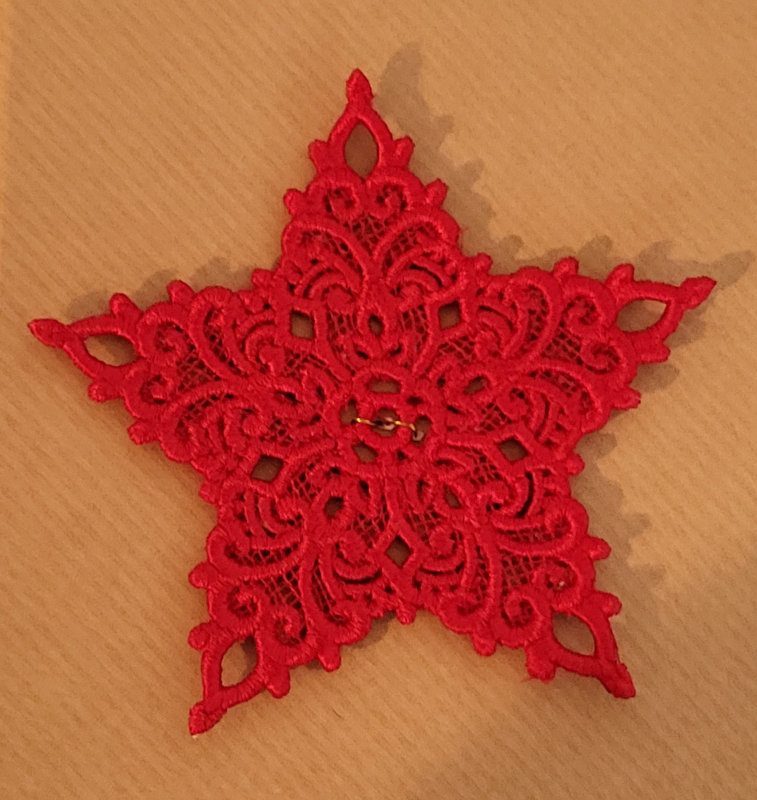
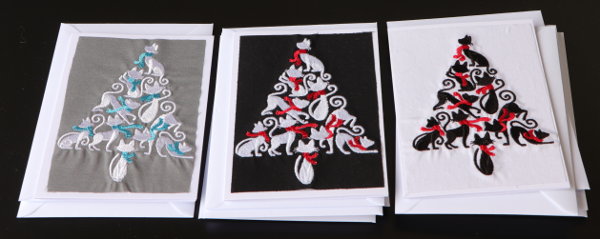
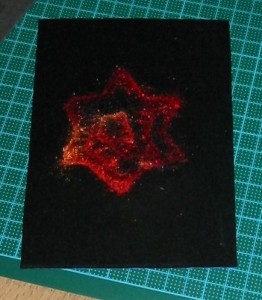 Und schon ist die Karte fertig! (Man sieht, ich habe auch Sterne gemacht…)
Hat nichts gekostet, ging schnell und ist idiotensicher… richtig für mich!
Vielleicht hat noch jemand Spaß daran, solche Karten zu basteln.
And voilà! The greeting card is finished. (Yes, I also did stars, not only trees)
A quick project that didn’t cost me anything and that is foolproof.. therefor perfect for me.
Maybe you like to try it, too?

