Da ich mich immer noch für keinen Schnitt entschieden habe, greife ich mein Thema vom vorletzten Post noch mal auf…
As I haven’t decided yet for a pattern to sew I continue writing about ease…
Mit der Bewegungszugabe ist es aber noch nicht getan. Denn die vom Designer gewünschte und geplante Silhouette ist ja nicht immer körpernah, sondern kann auch mehr oder weniger weit sein. Dafür kommt also noch mal was drauf…
Wearing ease alone isn’t the end. Not all clothes are planned to by slim fitting. So there is more to add…
Wenn ich den Schnitt selber entwerfe, kann ich natürlich selber entscheiden, wie weit oder eng es werden soll. Aber wenn ich mit einem Fertigschnitt arbeite wäre es manchmal schön zu wissen, wie weit das Kleidungsstück am Ende eigentlich werden wird.
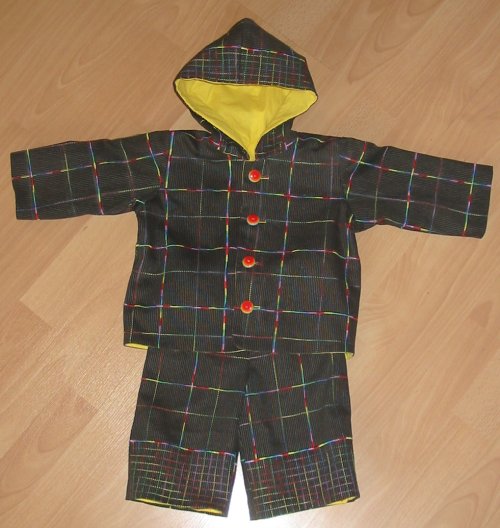
Sind Photos dabei, sollte man diesen entnehmen können, ob ein Kleidungsstück eng oder weit am Körper fällt. Zumindest wenn man genau hinsieht. Aber wir wissen alle, daß aussagekräftige Photos nicht immer mitgeliefert werden. Und ist ein Modell nur gezeichnet oder habe ich nur die Schemazeichnung vorlieren, dann ist leider raten angesagt.
Bei den großen amerikanischen Firmen steht dabei, wie es gemeint ist, von “close fitting” über “fitted”, “semi-fitted”, “loose fitting” bis “very loose fitting” verrät die Schnittmustertüte, was mich erwartet. (Oder erwarten sollte… )
Und die jeweiligen Designzugaben sind sogar auf der Webseite veröffentlicht:
Zugabentabelle bei Butterick
Bei Burda und den meisten Zeitschriften hilft dann nur noch raten…
If I’m making my own patterns it’s me who decides how much design ease I want. But working with purchased patterns it sometimes is not clear at all what we have to expect.
If there are photos they can help to guess how the garment hangs on the body. But the pics are not always helpfull. And some patterns only show paintings or technical drawings. Then guessing becomes hazardous…
The big american pattern companies luckily tell you from “close fitting” to “fitted”, “semi-fitted”, “loose fitting” to “very loose fitting” what you can expect. (Or what you are supposed to expect…)
And there is a table with designer ease on the website: design ease table Butterick
Bei anderen Schnitten… hilft dann wirklich nur den Schnitt auszumessen. Hier hilft dann die Tabelle aus dem Sew News Artikel
If the pattern company does not provide the information, then you have to measure your pattern. To tell the fit from those measurements the table from the Sew News Article:
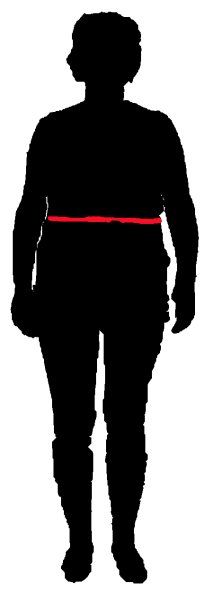
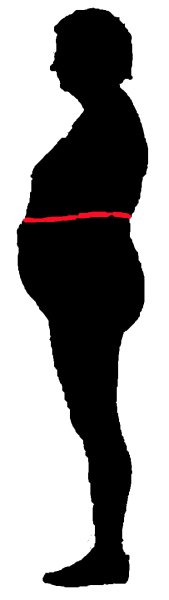
Bei Kleid, Bluse, Weste richtet man sich nach dem Brustmaß des Schnittes:
For dress, shirt or vest you take the measurements on the bust of the pattern:
Close Fitting (sehr körpernah): 0 cm – 7,6 cm
Fitted: 7,6 cm – 10,2 cm
Semi-Fitted: 10.2 cm – 12,7 cm
Loose Fitting: 12,7 cm – 20,3 cm
Very Loose Fitting (sehr weit): > 20,3 cm
Auch bei der Jacke richtet man sich nach dem Brustmaß des Schnittes:
For a jacket you also take the measurements on the bust of the pattern:
Fitted: 9,5 cm – 11,4 cm
Semi-Fitted: 10.2 cm – 14,6 cm
Loose Fitting: 12,7 cm – 25,4 cm
Very Loose Fitting (sehr weit): > 25,5 cm
Bei einem Mantel mißt man laut Tabelle die weiteste Stelle (ich bin mir nicht ganz sicher, ob das für den Saum eines Mantels in A-Linie auch gilt…)
If you have a coat pattern you measure (according to the table) the widest part (though I’m not sure if that adapts for the hemline of A-line coats…):
Fitted: 13,3 cm – 17,1 cm
Semi-Fitted: 17,1 cm – 20,3 cm
Loose Fitting: 20,3 cm – 30,5 cm
Very Loose Fitting (sehr weit): > 30,5 cm
Das Hüftmaß des Schnittes ist bei Rock oder Hose relevant:
For skirt or slacks you take the measurements on the hip of the pattern:
Close Fitting (sehr körpernah): 0 cm – 5,1 cm
Fitted: 5,1 cm – 7,6 cm
Semi-Fitted: 7,6 cm – 10,2 cm
Loose Fitting: 10,2 cm – 15,2 cm
Very Loose Fitting (sehr weit): > 15,2 cm
Interessant ist dieses Wissen auch, wenn es um Schnittveränderungen geht. Denn bei wem stimmen die Körpermaße schon exakt mit den Maßen aus der Tabelle der Schnitthersteller überein? Bei mir nicht.
Wenn man also z.B. 5 cm mehr Hüftweite hat, als in der Maßtabelle vorgesehen, der Schnitt (zur Bewegungszugabe, nicht vergessen, die Designzugabe kommt dazu) aber ohnehin 10cm Mehrweite vorsieht, dann kann man durchaus ohne Schnittänderung davon kommen.
That knowledge is also very interesting when you fit your pattern. Do your body measurements meet exactly the measurement charts of the pattern companies? Mine do not…
So if, for example, your hips are 5 cm larger than the pattern chart has planned for, but the design ease is 10 cm you have a chance to get away without pattern alteration. (Don’t forget, the design ease is on top of the wearing ease. The wearing ease you will need.)
Zum Schluß noch ein paar Worte zu keiner Bewegungszugabe bzw. negativer Zugabe: Außer bei elastischen Stoffen braucht man die auch bei allem, was wirklich eng sitzen muß oder soll. Die wichtigsten Beispiele sind enge Jeanshosen und Corsagen oder ähnliche enge Oberteile, die alleine am Körper halten sollen. Dabei nicht vergessen: Fett und Muskeln kann man noch ein bißchen zusammendrücken, Knochen nicht… 😉
To finish this topic some words about no ease and negative ease: You can do this on very elastic fabrics like swimwear, but there are some other exceptions that require a snug fit: tight blue jeans are one case, the other one are tight bodices (on a gown, for example) that have to stay on. But don’t forget: You can compress fat and muscles, but not your bones… 😉

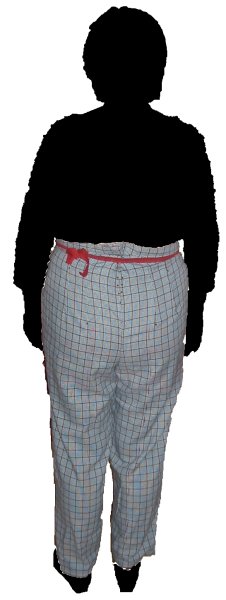
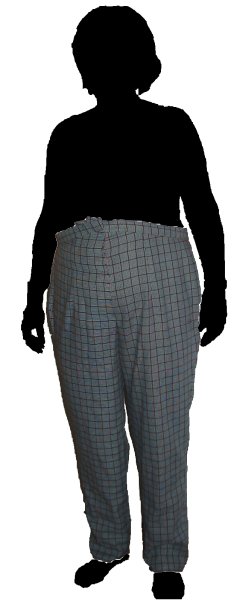
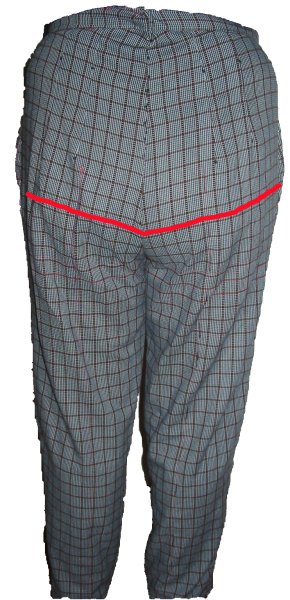
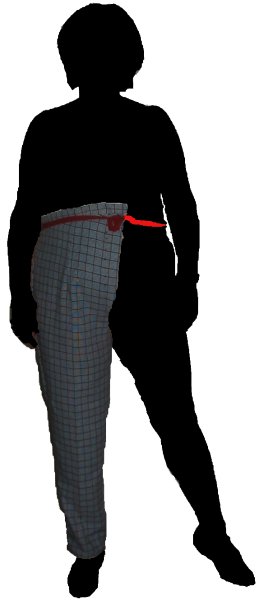
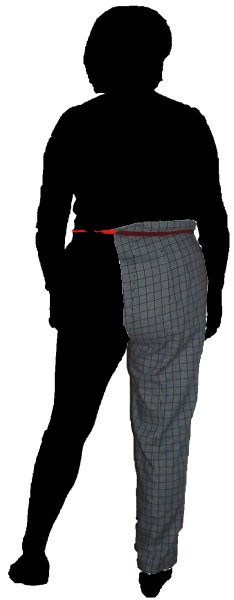
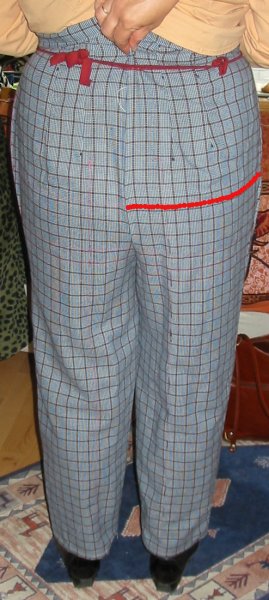 Nachdem wir noch kräftig mit der Form der Schrittnaht gespielt haben war es so weit, die Hose kann in Position gebracht werden, so daß die Hüftlinie auch über der Hüfte verläuft. Und schon sind die Falten hinten weg.


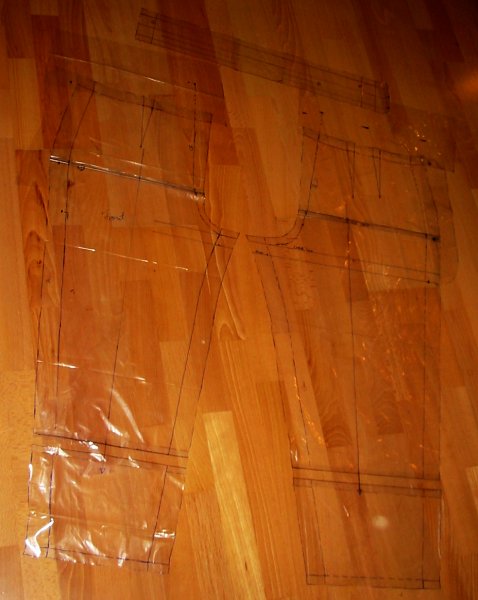
 Allerdings waren wir bisher noch nie streng systematisch vorgegangen. Mal haben wir an einem Schnitt gebastelt, dann wieder an einem anderen,…