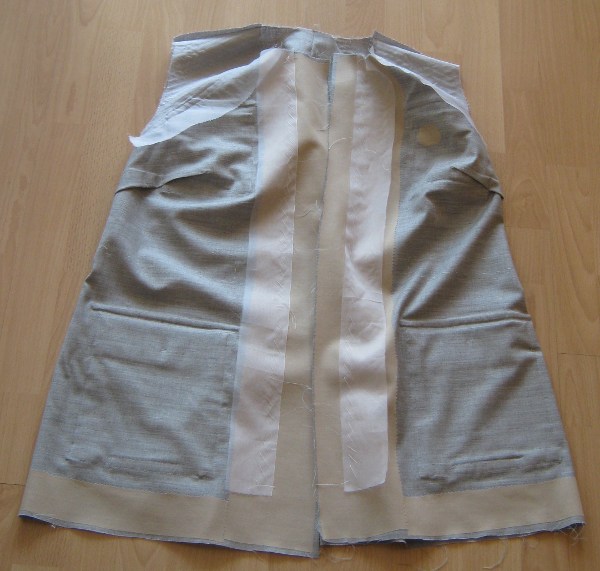
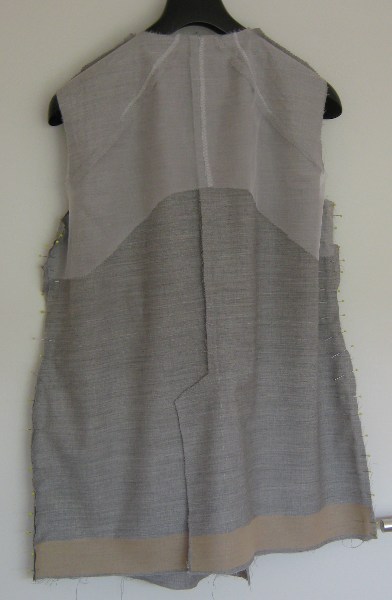
The zipper that nearly drove me insane…
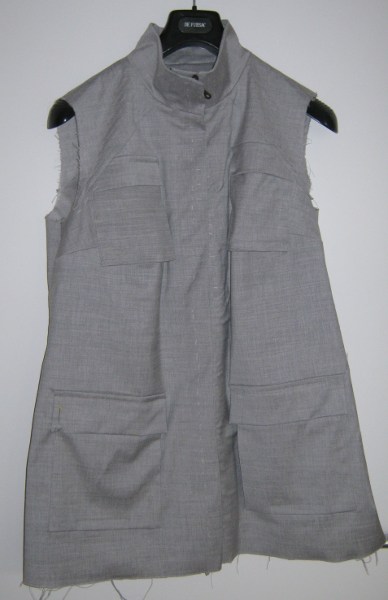 … ist jetzt drin.
… ist finally done.
Man sollte meinen, daß ich einen Reißverschluss einnähen kann… aber dieser… Zuerst einmal stellte ich fest, wenn ich den Reißverschluss einnähe, wie geplant, dann treffen die vorderen Mitten aber nicht aufeinander. Woran das liegt, kann ich nicht sagen. Eventuell hat mein Reißverschluss eine andere Breite, als in der Anleitung vorgesehen. Einen farblich passenden Zwei-Wege-Reißverschluss gab es natürlich nicht, also wurde es ein teilbarer Metallreißverschluss. (Der auch etwas zu schwer ist, aber ich habe ja zum Glück mehr Verstärkung eingebaut.)
I should be able to sew in a zipper, shouldn’t I? But this one… First thing was that I found out that if I am sewing the zipper at the position the pattern indicates the middle front does not overlap correctly. Why this? I don’t know. Maybe because my zipper has a different width? I couldn’t get a 2-way zipper in a matching color, so I took an ordinary metal zipper for jackets. (Which is also a bit too heavy, but luckily my interfacing is stronger than what Burda wanted.)
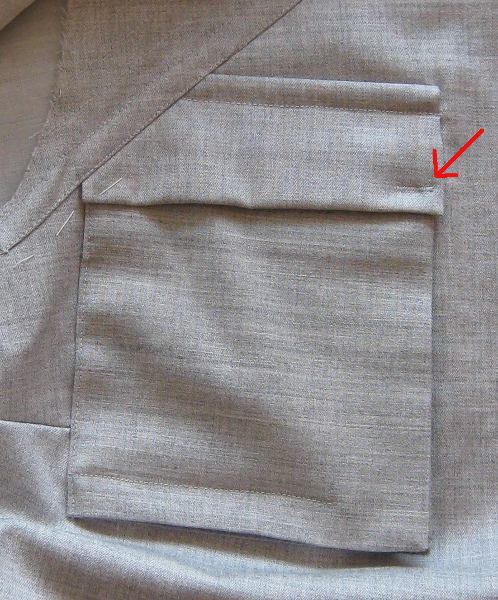
Also habe ich den Reißverschluss auf der rechten Seite etwas versetzt. Dann paßte natürlich der angeschnittene Übertritt nicht mehr zum Kragen. Also alles wieder ab (nachdem die Belege auch schon dran waren und die Naht mit farblich exakt passendem Garn sehr schön gebügelt gewesen war). Und wieder hin.
So I changed the position of the zip at the right front a bit. But then the cut on overlap didn’t fit the collar. So „unsewing“ everything. (Of course I only found out after I had sewn on the facings. And the thread has an exactely matching color with the fabric and I had melted the stitches very well with pressing.) And sewing on again.
Die linke Seite ließ mich hingegen etwa eine Stunde über der Anleitung grübeln… Untertritt? Welcher Untertritt? Wie soll das gehen? Wo soll der her kommen? Dauerte also nur ein Stunde, bis ich drauf kam, daß ich da noch einen Stoffstreifen zugeschnitten hatte….
The left front let me read the instructions over and over again for one hour… Underlap? Which underlap? How shall that go? Took only one hour until I remembered that there is another strip of fabric that I had cut…
Generell fand ich die Anleitung nicht wirklich übersichtlich, aber letztlich kommt man damit zum Ziel. Sogar ich.
The instructions were not best arranged, but finially they lead to the right result. Even me.
Jetzt macht die Jacke allerdings erst schon seit einiger Zeit Pause, denn ich werkle grade an einem „mal schnell“ Projekt bis Mitte Juli. Kleid und Jacke… deswegen war es auch so still hier, ich mußte mal dringend nähen, statt schreiben. 😉
But now the jacket is on „sewing break“ again. Already for a while. I need a dress and a jacket until mid july. That is also why I have not been blogging so much, needed more time for sewing. 😉