The English review is on Pattern Review.
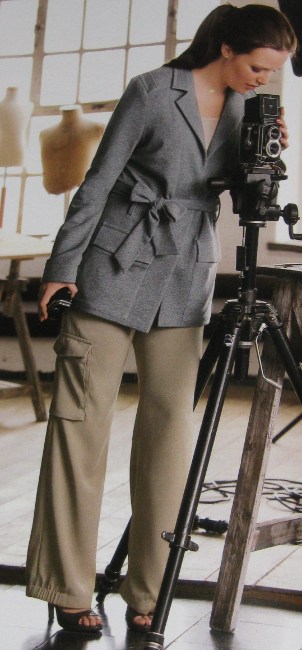
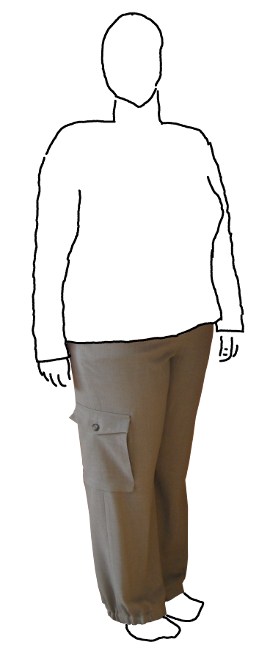
Nur zwei Jahre nach Planung und Stoffkauf ist die Hose fertig. Ich wollte eine Alltagshose, die aber etwas peppiger sein sollte, als Jeans oder was ich schnell bei C&A kaufe, das erfüllt das Modell. Ich mag keine Pumphosen, aber diese leichte Kräuselung am Saum gefällt mir, ebenso die Tasche auf dem Oberschenkel.
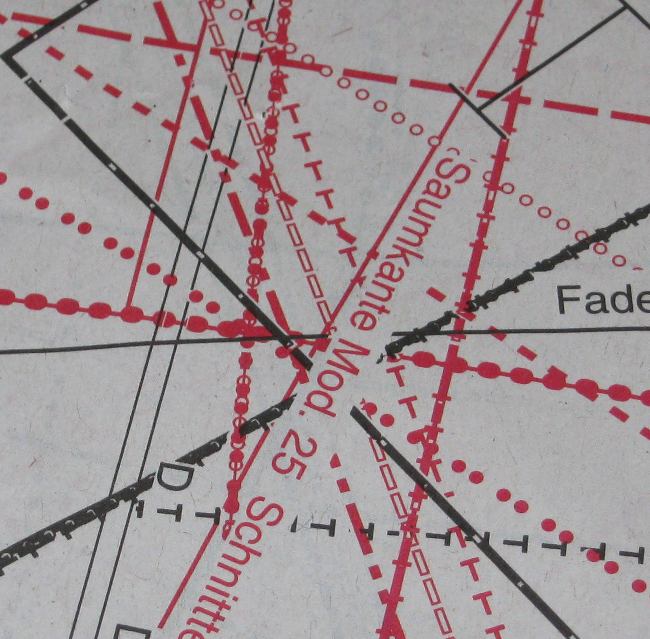
 Nachdem ich für mich schon seit Ewigkeiten keine Hose nach einem Burdaschnitt mehr genäht habe (da ich über keine gebloggt habe, muß das vor November 2005 gewesen sein), habe ich mich stur an der Maßtabelle orientiert und keine Änderungen vorgenommen. Da die Hose an Hüfte und Oberschenkel eher weit scheint, habe ich mich für Größe 50 entschieden. (Ich liege zwischen 50 und 52.) Da die Taille hinten eine Gummizug hat, war klar, daß ich da ausgleichen kann.
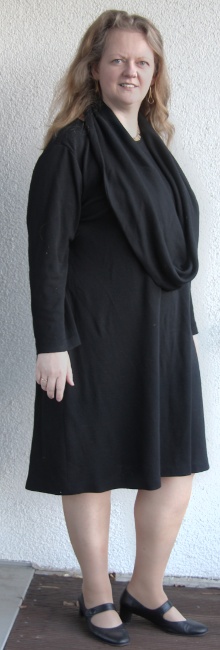
Im Ergebnis ist sie etwas spack an den Oberschenkeln (Obwohl ich die innere Beinnaht noch etwas rausgelassen habe.), allerdings war das bei der letzten Anprobe vor Weihnachten noch deutlich besser. Hinten könnte sie etwas höher sein (was ja meine Standardänderung bei vielen Firmen ist ist), vorne paßt die Höhe erstaunlicherweise. Die Schrittkurve neigt burdatypisch zum Katzenbart, was ich jetzt nicht ganz so katastrophal finde. Paßform ist also okay, dafür daß ich nichts geändert habe.
Was ich hingegen geändert habe ist das Hüftpassenteil, da habe ich den Abnäher entfernt, ich sah keinen Grund, mehrere Schichten Abnäher aufeinander zu stapeln. Zumal ich meine Hose noch um ein Teilfutter bis zum Knie ergänzt habe. Den Taschenbeutel habe ich dann neu gezeichnet, nach dem abnäherlosen Passenteil. Und das Passenteil habe ich so verlängert, daß es bis unter den Schlitzbesatz reicht.
Als Stoffe habe ich einen Woll-Mischgewebe Crêpe, den ich 2011 bei Hüco Stoffe in Berlin gekauft hatte. Eigentlich wollte ich ja einen leicht waschbaren Baumwollstoff, aber durch den Poly-Anteil ist mein Crêpe auch maschinenwaschbar und knittert nicht. Die Taschenbeutel sind aus einem speziellen, fest gewebten Baumwollstoff, den ich in Paris mal für genau diesen Zweck gekauft hatte. (Kommt eher so aus der Herrenschneiderei.) Futter ist Venezia, vermutlich von Stoff Müller in Köln. Knöpfe kommen auch aus Köln, Plisee Becker ist da mein bewährtes Paradies.
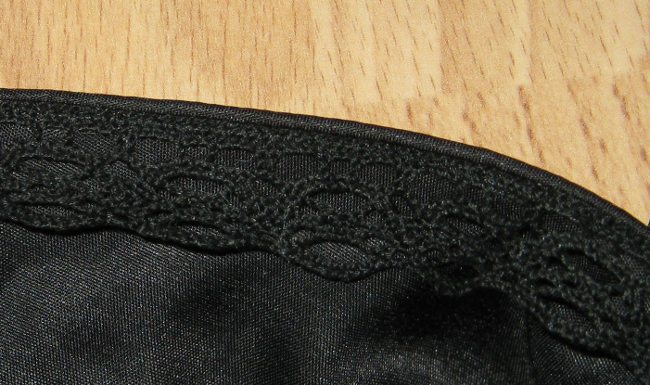
 Bei der Verarbeitung habe ich mich weitgehend an die Anleitung gehalten. (Wer es ganz detailliert und mit ewa 150 Photos sehen will, kann dieses WIP im Forum studieren.) Irritiert war ich etwas über die Wahl von G785 als Einlage, die mir doch für meinen und auch den vorgeschlagenen Stoff etwas leicht vor kam. Wie der Bund das auf Dauer aushält wird sich zeigen. Abweichend von Burda habe ich den Taschenkanten eine winzige Paspel verpaßt, habe auf den oberen Teil der inneren Beinnähte auch G785 als „Scheuersicherung“ aufgebügelt und habe den Gummi zuerst auf den Innenbund genäht und danach den Bund angenäht. Die Bundverarbeitung weicht auch etwas ab, bei mir kommen Handstiche vor. 😉 Die Futterverarbeitung ist natürlich auch nach eigenem Gusto, die kommt im Schnitt ja nicht vor.
Im Ergebnis ist die Paßform nicht perfekt, aber tragbar. (Gekaufte Hosen sitzen schlechter und das ist in dem Fall der Maßstab.) Besonders an den Oberschenkeln ist sie recht eng, am Po hätte es mehr Höhe sein dürfen. Lektion daraus: Bei Burda Hosenschnitten besser Größe 52 nehmen. Von McCall’s und Co. bin ich da mehr Weite gewohnt. Lektion 2: Bild genau angucken. So weit ist die Hose am Oberschenkel nämlich gar nicht. Sonst bin ich mit dem Stil der Hose zufrieden, die Tasche macht tatsächlich einen etwas schlankeren Oberschenkel. Fehlt noch eine Jacke und zwei Oberteile….