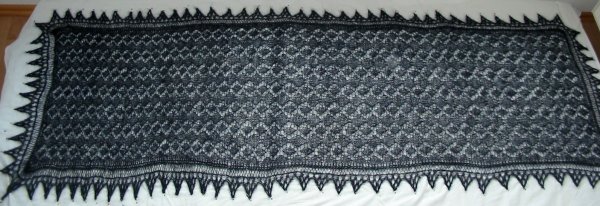
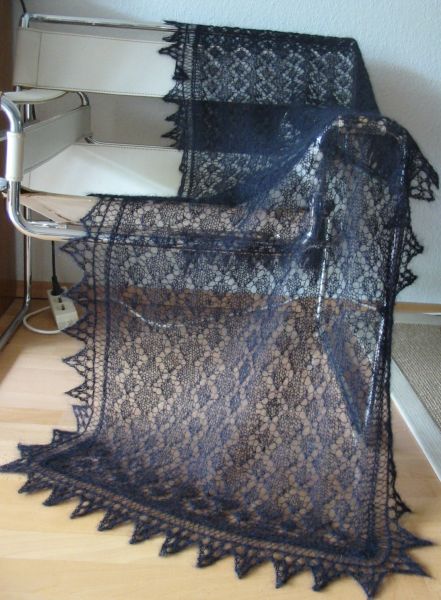
Excessive Swatching
Daß ich mit meiner Challengetasche so spät angefangen habe hatte natürlich Gründe. Da ich mit dem Männerpulli ja zumindest so weit fertig war, daß die Ausarbeitung Zuhause weiter erfolgen muß brauchte ich dringend wieder ein Strickprojekt für unterwegs. Ich wollte mein nächstes Laceprojekt aus „Victorian Lace Today“ angehen, nämlich „Miss Lambert’s Shetland Pattern for a Shawl“,eigentlich ein recht unkompliziertes Muster.
Leider gefiel mir nicht nur das Muster, sondern auch die Farbe und die Gesamtanmutung der Stola, so daß ich gerne das Originalgarn genommen hätte. Nur leider war das ein handgesponnenes und sehr feines Wollgarn und damit begannen die Probleme…
There is a reason why I started so late with my Challenge bag. Since I had finished the men’s sweater to an extend where the rest of the work like blocking and sewing would have to be done at home I was in urgent need for a new knitting project on the go. I had already choosen another easy lace project from „Victorian Lace Today“, „Miss Lambert’s Shetland Pattern for a Shawl“. Didn’t look complicated.
In this case I did not only like the pattern but also the colour and the over all impression of the shawl so I’d prefered to get the original yarn. Only this is some extra fine handspun woolen yarn which is not sold anywhere. And that’s where the problems started.
Die Anleitung möchte extra dünnes Garn, feiner als Kid Silk Haze, da wird das Angebot dann schon recht klein. Jetzt wollte ich außerdem das leicht fusselige des Originals, kein fest gedrehtes Garn. Da wurde es dann auch in der Maschenkunst schwierig. Nur Alpaca 1 von Isager gefiel mir. Nur ist die halt aus Alpaca… aber ich nahm sie trotzdem.
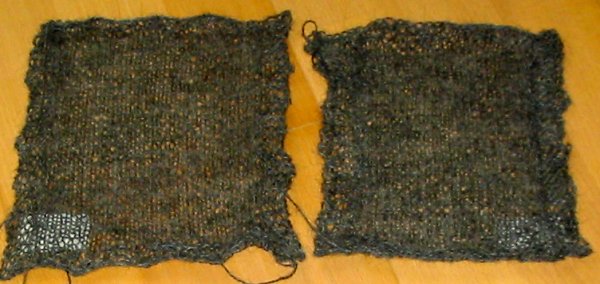
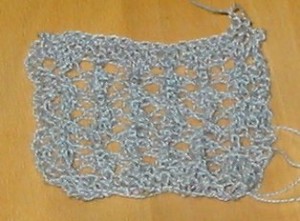
 Da ich lockerer stricke als die meisten Anleitungen vorsehen, aber dennoch ungefähr die gleiche Größe für den Schal haben wollte wie vorgesehen, machte ich also brav meine Maschenprobe in glatt rechts. Statt der angegebenen 3,5 nahm ich auch gleich 3,25er Nadeln und meine Maschenprobe (rechts im Bild) hatte die passende Breite. Höhe fehlte wie immer einige Reihen. Nähere Inspektion zeigte, daß meine Rückreihen immer deutlich kleinere Maschen hatten als meine Hinreihen. Also mein Knit Pro System einfach mit 3,25 Nadel für die rechten und einer 3,5 Nadel für die linken Maschen (also Rückreihen) bestückt und schon wurde das Gestrick gleichmäßiger und gewann auch an Höhe. (Wenngleich immer noch einige Reihen zur angegebenen Maschenprobe fehlten.)
The pattern needs very thin lace yarn, finer than Kid Silk Haze and there are not too many yarns available in that class. (Even at Maschenkunst) Also I wanted the slight fuzziness of the shawl in the book and the extra fine lace yarns in wool were all firmly plied. Only Alpaca 1 from Isager had basically the look I wanted, only it’s alpaca, not wool… but I bought two balls and went away.
Since I know that I usually need smaller needles to get the gauge I started swatching with 3.25 needles instead of 3.5. I know that a shawl can have any dimensions, but if you want about the same dimensions as the pattern tells you, you better swatch. In stockinette for this pattern. The number of stitches was fine that way, only I needed (as always) way more rows. Then I detected that systematically the stitches I had purled were smaller, shorter. So I loaded my Knit Pro system with one 3.25 and one 3.5 needle and made another swatch. Which was way more regular. Also a bit higher (still some rows short of the gauge).
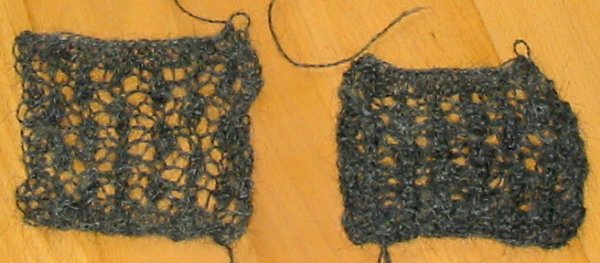
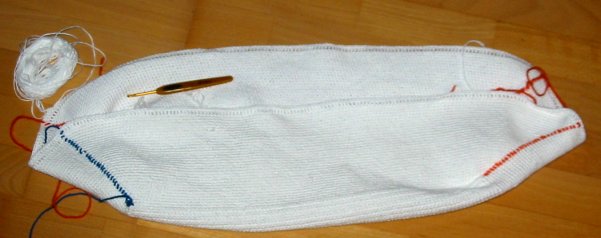
Munter strickte ich los um nach einigen Reihen festzustellen, daß ich zum einen ständig Fehler machte und noch schlimmer das Muster nicht so recht wie in der Vorlage aussah. Irgendwie hatte ich nur Löcher, aber nix dazwischen, auf dem Bild sah das anders aus… :/
 Also die ersten Reihen wieder aufgezogen (macht bei Alpaka auch sehr viel Spaß) und eine Maschenprobe gestartet. (Links im Bild.)
Ne, das ist kein Muster, das ist nur murks.
Alpaka verhält sich deutlich anders als Wolle. Das wußte ich schon mal, aber ich hatte es vergessen.
Confidently I cast on and started knitting the shawl. Some rows later I had to admit that I was not only making constantly mistakes and had to backstitch a lot, but also the pattern did not look like on the pic. Somehow I had only holes but nothing that makes the holes a pattern… :/
So I frogged the first rows (which was not too funny with alpaca) and made a new swatch. In pattern this time. (left one in the pic).
No, that is not a pattern. Alpaca behaves quite differently than wool. I knew that once but evidently forgot.
Um zu sehen, ob das Garn vielleicht einfach zu dünn oder die Nadeln für meine Strickweise einfach zu dick sind habe ich die Brutalmaschenprobe gemacht (rechts im obigen Bild): doppelter Faden und Nadelstärke 3. Auch das ging nicht in die richtige Richtung.
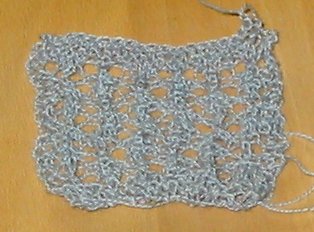
Also wieder in die Maschenkunst und schweren Herzens mit zwei Knäuel „Silvia“ wieder rausgekommen. Ein schön fest gedrehtes Lacegarn aus Wolle, das für ein prägnantes Muster sorgen sollte.
To find out quickly whether the yarn was to thin for my knitting or the needles still to thick I made another swatch with two strands of yarn and a 3.0 needle. (right swatch on the pic above) It was different, but not better. Not even the right direction.
So back to Maschenkunst. I left with two balls of „Silvia“, a firmly plied fine lace yarn that should produce a well defined pattern.
 Ja, das wurde schon besser. Aber so ganz glücklich war ich nicht, weil ich ja eigentlich einen etwas fusseligeren Eindruck haben wollte.
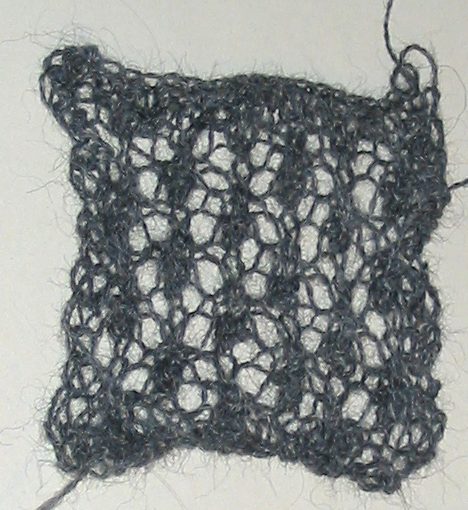
Während ich so vor mich hin maschenprobte fiel mir plötzlich ein Tip ein, den ich von Liane mal in einem anderen Zusammenhang bekommen hatte. Und probierte das mal auf Löcher bezogen aus…
That was better. Still I wasn’t completely happy since I still longed for a more fuzzy feeling of the shawl.
While I was swatching I suddenly remembered something Liane had once told me in other circumstances. And I tried that trick on holes…
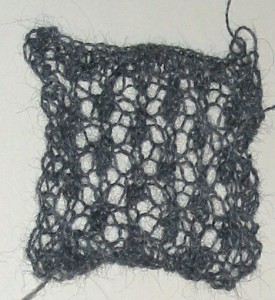 Und voilà! Nicht perfekt, aber ein Muster.
Und ein Kompromiss mit dem ich werde leben können.
Allerdings brauche ich jetzt ein weiteres Knäuel von der Isager Wolle. Zwei Knäuel hätten ziemlich genau gereicht, aber mit den ganzen Maschenproben habe ich diesmal schon viel verbraucht. 😮
And voilà! Not perfect, but a pattern.
And a compromise I’ll be able to live with.
Only I used so much yarn for swatching that I’ll need another ball of yarn. 😮

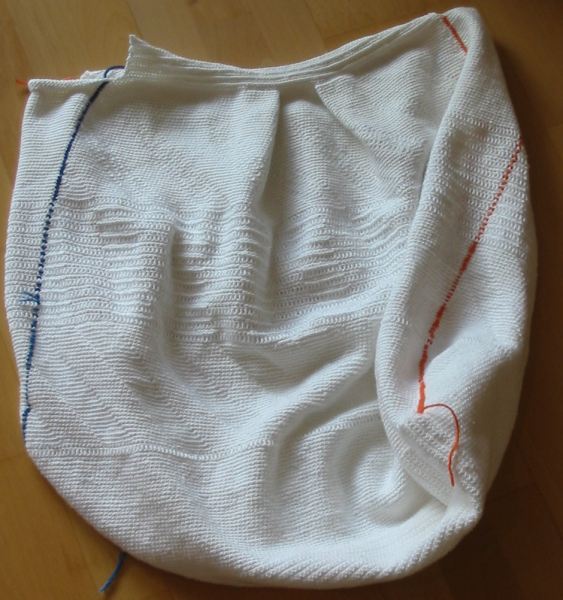
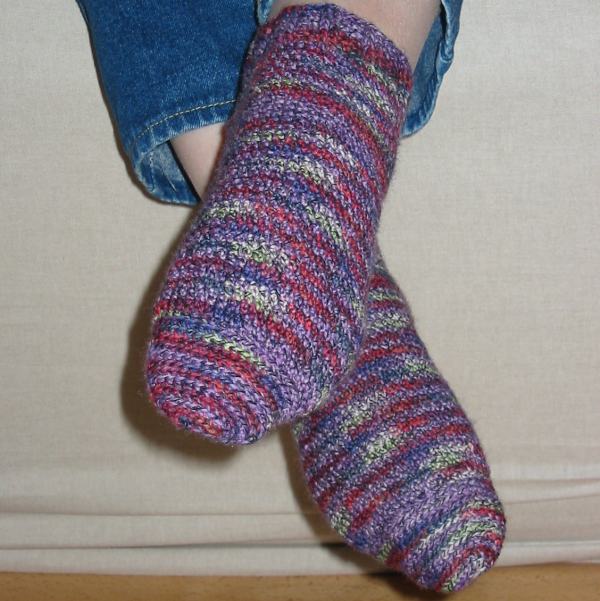 Socken häkeln. Und tatsächlich, es funktioniert und man kann sie sogar anziehen.