A pattern Review for Easter.
Zuerst wünsche ich euch natürlich allen frohe Ostertage! Da ich ausnahmsweise mal österliche Deko genäht habe, gibt es die passende Schnittkritik dazu.
First of all: Happy Easter Days everyone! I’ve sewn some themed home dec I think it fitting to bring the pattern review today. (I don’t think Pattern Review has a possibility to enter this, because the pattern has no number, so it will all be here.)
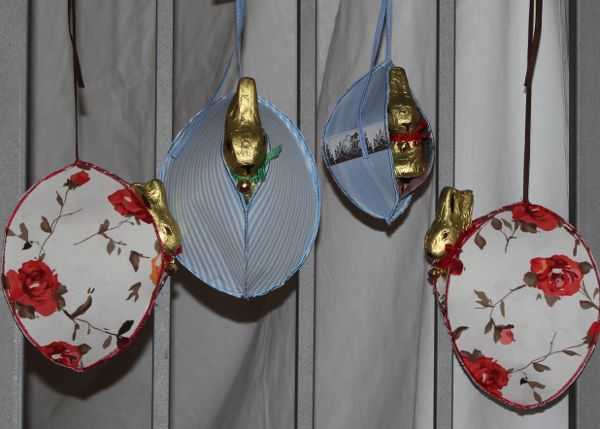 Diese befüllbaren Wand Nester in der März Burda fand ich recht witzig, denn unser Osterbesuch ist inzwischen zu alt, um noch Eier zu suchen (bzw. mir fällt nichts altersgemäßes mehr ein), aber für Schokoeier und Lindthäschen ist man ja nie zu alt.
Burdastyle had those “wall nests” in the March issue and since our Easter visitors are meanwhile to old to search for eggs (or to be more precises I am out of ideas how to give them an age apprpriate egg hunt), but never to old for chocolate eggs and a Goldbunny.
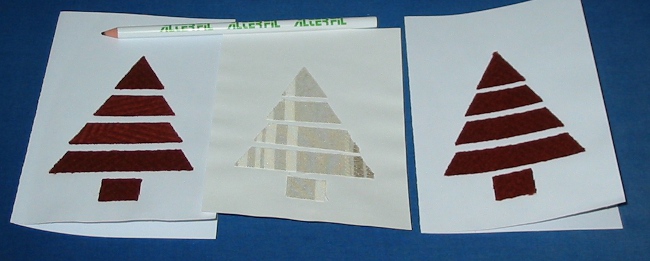
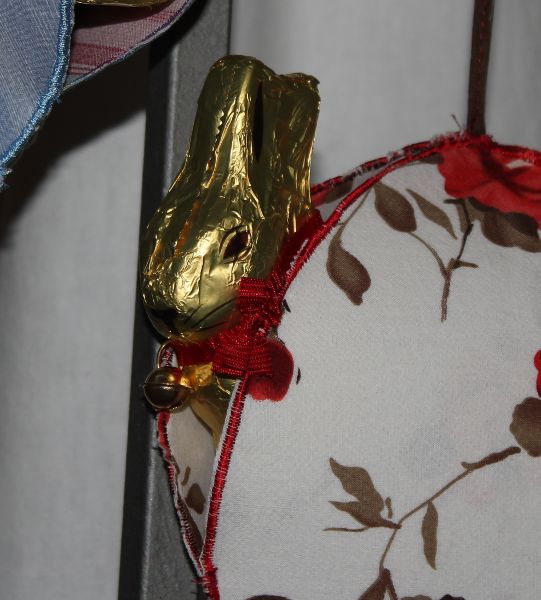
Die Anleitung im Heft ist eine Bildanleitung, also kann man da nicht viel falsch machen. Allerdings habe ich die Nahtzugaben nicht einfach unversäubert gelassen, sondern habe die Teile mit Satinstich zusammen genäht. Das gefällt mir besser. Außerdem habe ich die Eier (vor allem die großen) im unteren Drittel zugenäht. Was eine gute Idee ist, aus dem kleinen fallen die Sachen nämlich doch sehr leicht raus. Die Stoffe sind verschiedene Baumwollreste, die ich in meiner Kiste hatte. Zusammengenäht habe ich dann mit Maschinenstickgarn, das blaue von Alterfil, das rote von Gütermann Sulky. Was halt noch so da war…
The instructions come with a lot of photos, so you can hardly go wrong. What I changed is that I did not like the raw seam allowance, but I’ve sewn the pieces togehter with satin stitch. I like it better like that. Also I closed the side with the opening in the lower third. (Burda leaves it alltogehter open.) Which is a good idea, because I did not do that for the smaller egg and things tend to fall out quite easily. Fabric are cotton brints and woven stripes from my remnant bin. For sewin I used machine embroidery thread, the blur one is from Alterfil, the red one is Gütermann Sulky. Things I had at hand.
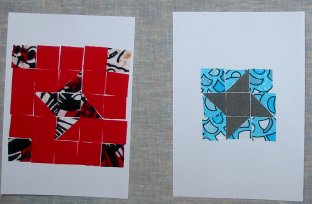
 Zwei Sachen hätte ich an der Anleitung zu kritisieren. Zum einen wird nirgendwo erklärt, wie und wann man die Bänder einnäht. Da die Nester ja sonst nicht schwer zu nähen sind, richtet sich die Anleitung ja wohl an Anfänger und dann sollte dazu auch was stehen. (Ich brauche das natürlich nicht, mir fällt da schon was ein.) Die andere unschöne Sache lag an der Vlieseline. Ich habe die Schabrakeneinlage mit feuchtem Tuch aufgebügelt, dann das Vliesofix… und dann die zweite Seite des Vliesofix wieder mit feuchtem Tuch. Und da gab es dann stellenweise Knitter auf der resten Bügelfläche. Das feuchte Tuch hat das wohl wieder “angelöst”:
There are only two things I did not like about the instructions. One is that they do not really tell you when and how to attach the strings. Since the come with many pictures I’d say this is made for a beginner and then such a crucial point should be explained. (No problem for me, of course. But I am not a beginner.) The other issue I had with the fusible. The first (stiff) Vlieseline is ironed ot with a damp cloth, then the Vliesofix dry on one side and then again with a damp cloth for the second that. Which created some wrinkles on the fabric side I had fused first. The damp cloth seams to “unfuse” the stiff Vlieseline again.
Ansonsten sind das aber ganz süße Nester, die auch schnell zu nähen waren. (Die Aufbügelei hat glaube ich fast so lange gedauert wie das Nähen.) Da kann man tatsächlich in Serienproduktion gehen.
Otherwise the nests are super cute and were sewn quickly. (All the fusing had probably taken nearly as long als the sewing.) So you can make loads of them.