
Security button hole
Die „Auflösung“ der Knopffrage verrate ich natürlich noch nicht, wenn ihr das wissen wollt, dann müßt ihr am 27.07. im Bernina Blog vorbei schauen, da gibt es dann das fertige Bild. (Oder Geduld haben, bis ich Zeit habe, es hier zu zeigen.)
My button solution will not be shown here now. If you want to know that you’ll have to check the Bernina Blog on 07/27, there will be a picture of the finished jacket. (Or you are patient enough until I have the time to show it here.)
Aber derweil erzähle ich was von den Knopflöchern. Es gibt zwar ein paar Bilder, aber leider keine guten, die Makrofunktion dieser Kamera und ich stehen irgendwie auf Kriegsfuß. Oder ich sollte einfach die Bedienungsanleitung noch mal lesen…
But I’ll tell you something about my buttonholes. There are pics also, but not very good ones. The camera should be able to do Macro shots and sometimes does, but sometimes not. And I don’t know why. Maybe I should read the instructions again…
Problem bei dieser Jacke war, daß die Seide sehr leicht ausfranst und daß die oben aufliegenden Fäden auch nicht freiwillig liegen bleiben, wenn man sie durchtrennt. Handknopflöcher waren aus Zeitgründen keine Alternative, aber es gibt da auch ein paar Tricks mit der Maschine…
A problem with this fabric was, that the silk was fraying easily and also the loose fibers on top that form the pattern wont stay put once cut. Sewing button holes by hand was not an option due to the deadline, but there are some things you can do with the sewing machine…
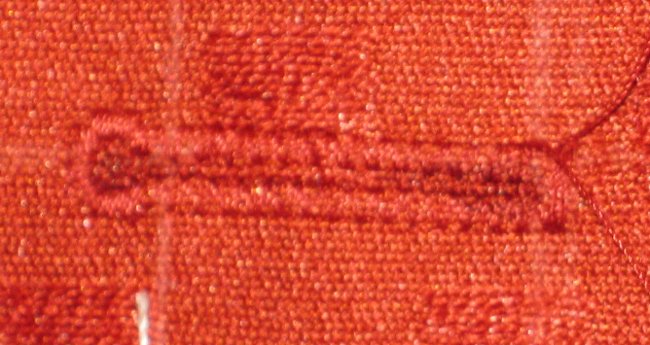 Erster Schritt, ist die Position zu markieren und ein normales Augenknopflich zu nähen. Dabei wird die Raupe ein wenig „lockerer“ eingestellt, also die Stichlänge minimal erhöht. Danach wird zwischen den Raupen Fray Check aufgetragen. Bei dem dicken Stoff sogar einmal auf der Jacke und einmal am Beleg.
(Den Schritt, bei dem man vier der Augenknopflöcher wieder auftrennen muß, weil man das Auge mal wieder an die falsche Seite genäht hat, den kann man gut weglassen…)
First step is to mark the position and sew the eyelet button hole. Change the stitch length of the „normal“ setting of your sewing machine, making the stitch length a little longer. The button hole will be less densely sewn. Not apply fray check to the fabric between the sewn button hole. In my case (the fabric is very thick) from both sides. Apply on the jacket and apply on the facing.
(The step where you have to rip out four button holes because the eyelet is showing in the wrong direction can easily be omitted… )
 Danach den Fray Check wirklich gut trocknen lassen.
Danach das Knopfloch aufschneiden. (Falls man dabei die Raupe mit erwischt ist das nicht so schlimm, durch das Fray Check kann sich nicht alles auflösen.)
Allow the Fray Check to dry very well.
Then cut the button hole open. (If you cut some of the stitches it is not a problem, with the Fray Check on it it will not unravel.
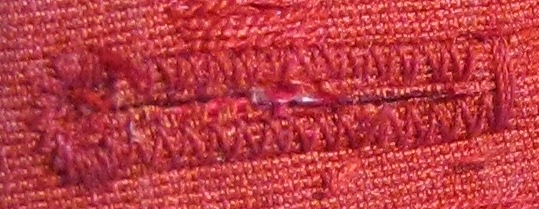
 Und dann wird noch mal ein Knopfloch genäht. Diesmal mit der normalen Stichlänge.
Am besten man orientiert sich wieder an seinen Markierungen, die sollte man also nicht entfernen, bevor man ganz fertig ist.
Meistens wird es nicht ganz so perfekt schön wie ein einfach genähtes, weil man (oder weil ich) dann doch nie zu hundert Prozent treffe, aber dafür hält es. Und wenn die Knöpfe zu sind, sieht man vom Knopfloch eh nicht viel…
Then bring your button hole back to the machine and sew the same eyelet button hole as before, but this time with the standard setting and dense stitches.
It works best if you use your original markings, so you should not remove those before everything is completely finished.
I have to admit that the result is normally not as perfect as a „normal“ button hole because one (or because I…) never is able to match the two button holes perfectly, but it is stable and that’s a lot. And if the buttons are closed one doesn’t see to much of the button hole stitches anyhow…