Bad button dreams
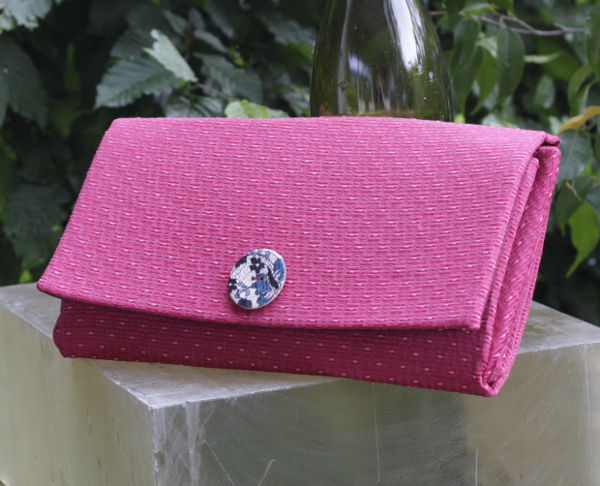
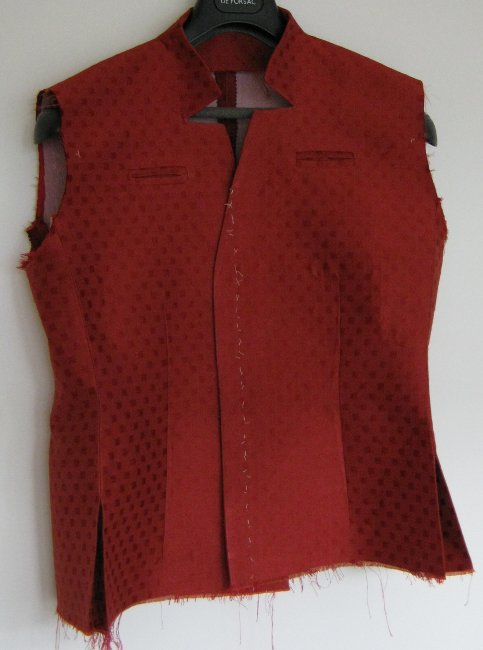
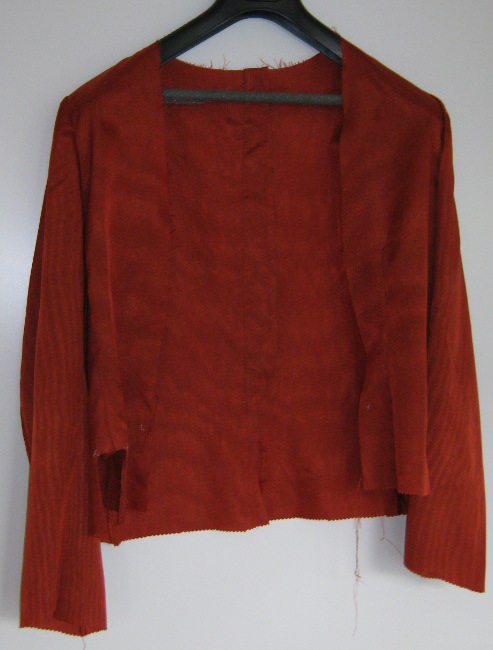
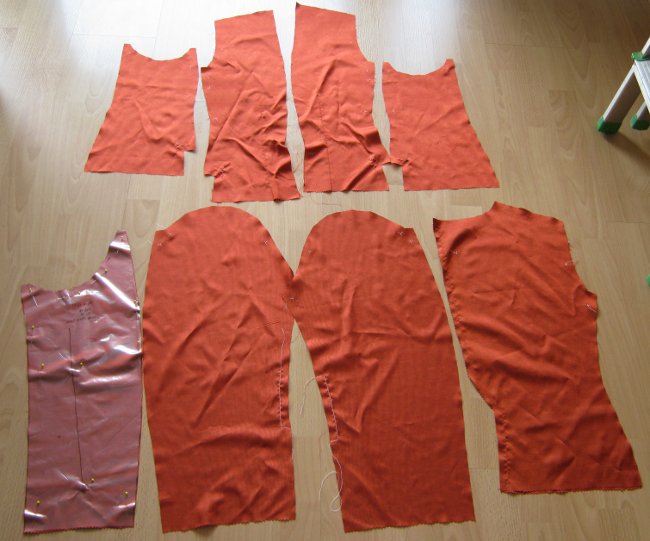
 Die Jacke „Seidenträume“ ist tatsächlich fast fertig, aber vor den letzten Schritten geht der Jammer wieder richtig los.
Knöpfe!
The „silk dreams“ jacket is nearly finished, but now next trouble is ahead.
Buttons!
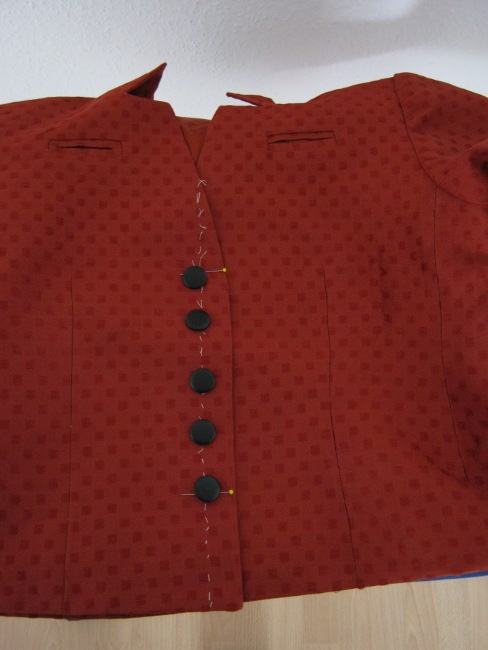
Schlichte schwarze gibt meine Knopfkiste her, aber die sind ein wenig hart und langweilig.
My button box has simple black ones but the contrast is a bit high and they are quite boring.
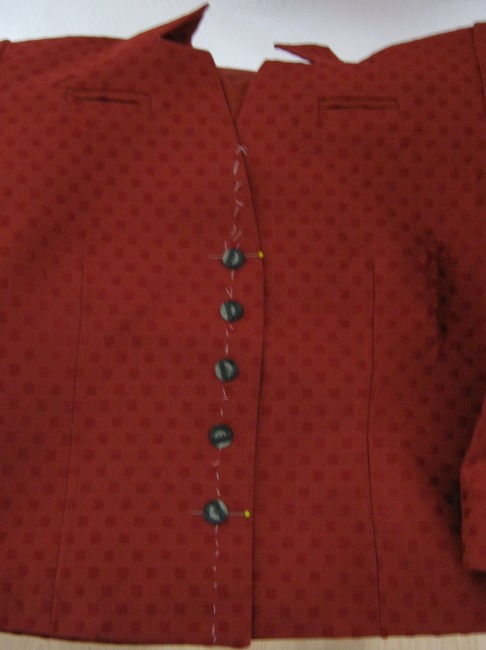
 Diese hier gefallen mir schon besser, aber ich habe nur fünf davon und da sie kleiner sind wären schon sechs nötig.
Those I like better, but I have only five and since they are smaller I’d need six to make it look good.
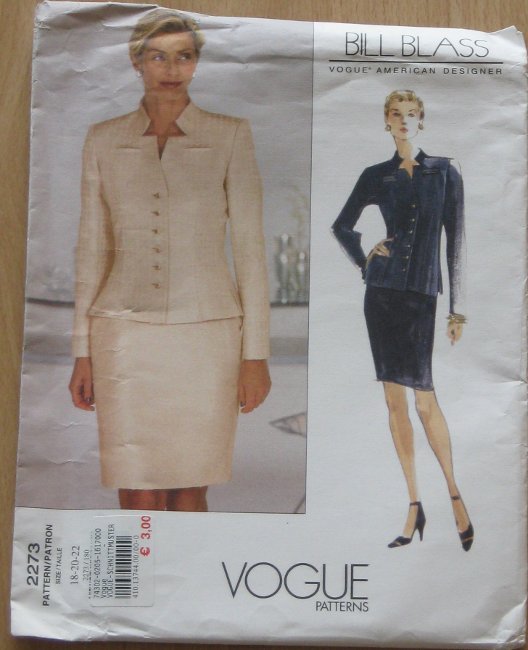
Die Anleitung sieht übrigens auch sechs Knöpfe vor.
Six buttons is also what the pattern uses.
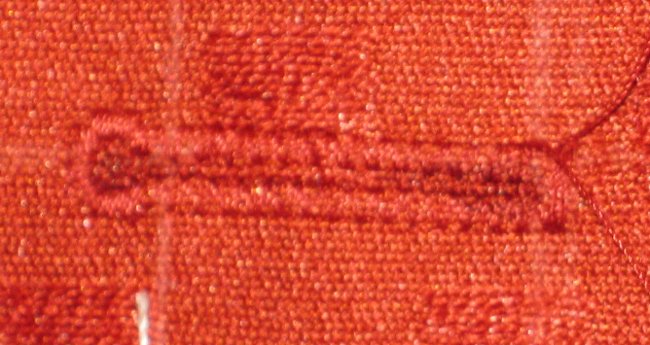
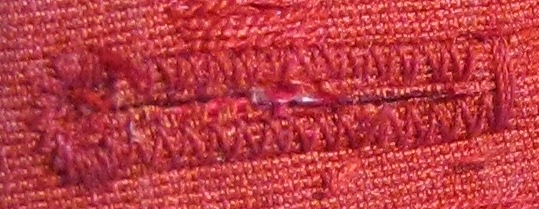
(Daß die Bilder unscharf sind liegt daran, daß die Kamera im Moment keine Lust hat, zu blitzen. Es könnte an den schon etwas schwachen Batterien liegen…)
 Diese Blumenknöpfe sind glaube ich von Jim Knopf.
Definitiv zu verspielt… geht gar nicht.
Those stylized flowers are from Jim Knopf, I think.
No… to child-like… no way.
(The pics are all a bit blurry, I am sorry. the flash light on the camera refuses to work. Might be that the batteries are low…?)
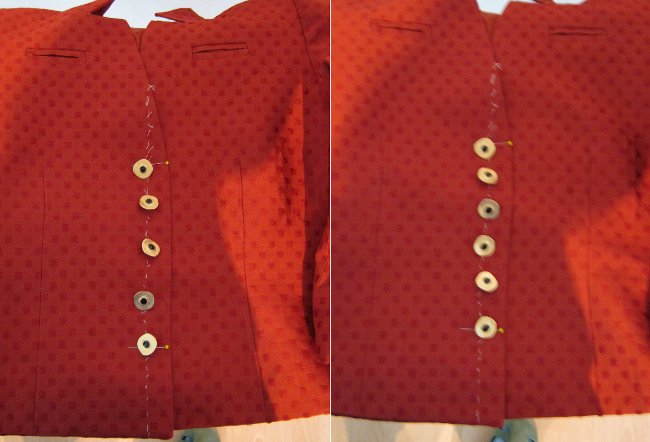
 Gut, ohne Blitz erkennt man bei diesen Knöpfen gar nichts…
Es sind transparente Kunststoffknöpfe mit Goldglitter drin.
Okay, without flashlight you don’t see anything of those buttons….
They are transparent and have gold glitter in the plastic.
Sehen aber doch irgendwie billig aus. Und waren es vermutlich auch. (Die habe ich mal bei einem Knopfswap eingetauscht und sie waren mit billigem Tesa-Imitat aneinandergeklebt, deswegen fühlen sie sich auch noch immer leicht klebrig an…)
Well… look cheap. What they probably also were. (I got them via a swap and they were taped together with a cheap tape so they still feel sticky from the glue on the tape even after all those years…)
 Diese Goldknöpfe sind schon mal nicht ganz schlecht. (Ich habe sie mal auf einem Pariser Flohmarkt gefunden, sind gebraucht, hat ihnen aber nicht geschadet….)
Bleibt die Frage, ob fünf oder sechs und ob Goldknöpfe nicht doch etwas zu viel Pracht sind?
The metal vintage buttons I picked once on a Paris flea market aren’t bad. (They are used ones, but that doesn’t show…)
Still… five or six? And do I really want so much gold or is it too much?
 Diese Goldknöpfe (okay, eher messing…) hatte ich mal an einer Strickjacke. Für die sie übrigens eigentlich zu schwer waren…
Jedenfalls habe ich die Knöpfe behalten, als ich die Jacke weggeworfen habe.
Sollten sie hier wieder zum Einsatz kommen?
Those brass buttons I bought very long ago for a knitted cardi. (And they were too heavy for it but I used them nevertheless…)
When I threw away the cardi I kept the buttons because I thought they were to special to throw away. (Not to mention that they were expensive also.)
Is that the moment to reuse them?
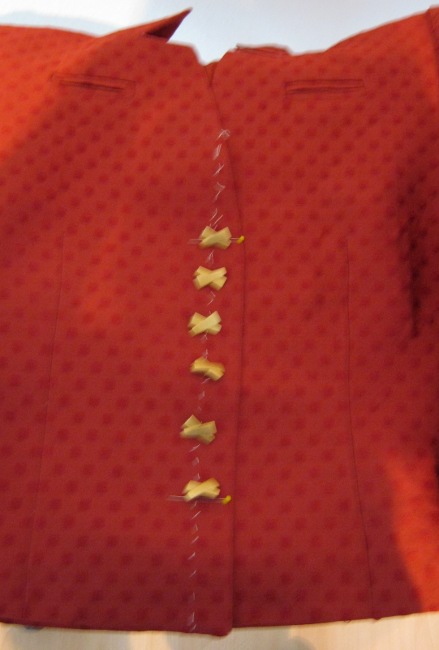
Noch mal Vintage vom Flohmarkt in Paris sind auch diese hier… (Ich kann nicht mal sagen, was für ein Material. Sie sind sehr leicht und es ist sicher ein Kunststoff, aber wie „normaler“ moderner Kunststoff fühlt es sich irgendwie auch nicht an?)
Der Farbton gefällt mir ja ganz gut dazu.
Again vintage buttons from a Paris flea market. (I can’t even say what they are mad of. They are very lightweight and I think its a kind of „plastic“. But they somehow don’t feel like „ordinary“ modern plastic?)
I like the color.
Aber außer dem „fünf oder sechs davon?“- Problem finde ich sie auch arg hoch und kugelig. Zu dem Design der Jacke paßt doch eher ein flacher Knopf, oder?
HILFE!
But besides the problem if I better take five or six of them… I think they are very high and thick. I think a flat buttons looks better with this jacket?
HELP!

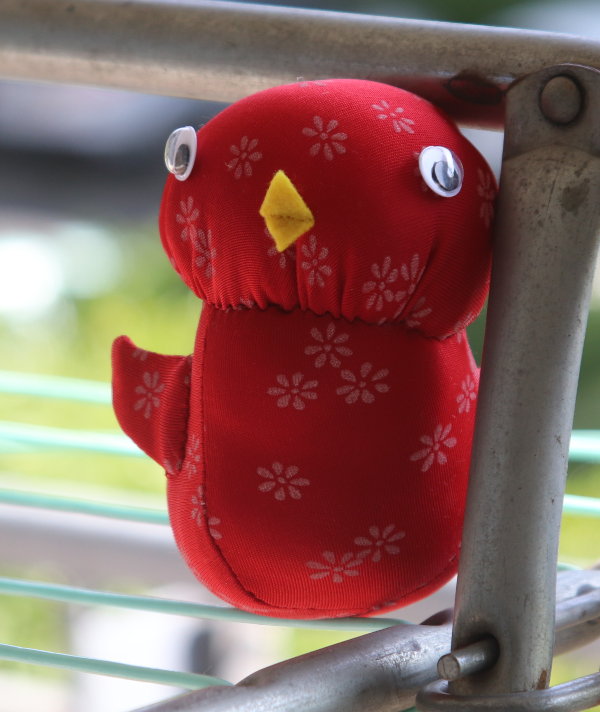 Der Kopf sitzt massiv schief und ich konnte das zumindest ein wenig kaschieren, indem ich Schnabel und Augen seitlich angenäht habe, so daß er ein wenig wie ein Vogel wirkt, der den Kopf gedreht hat.